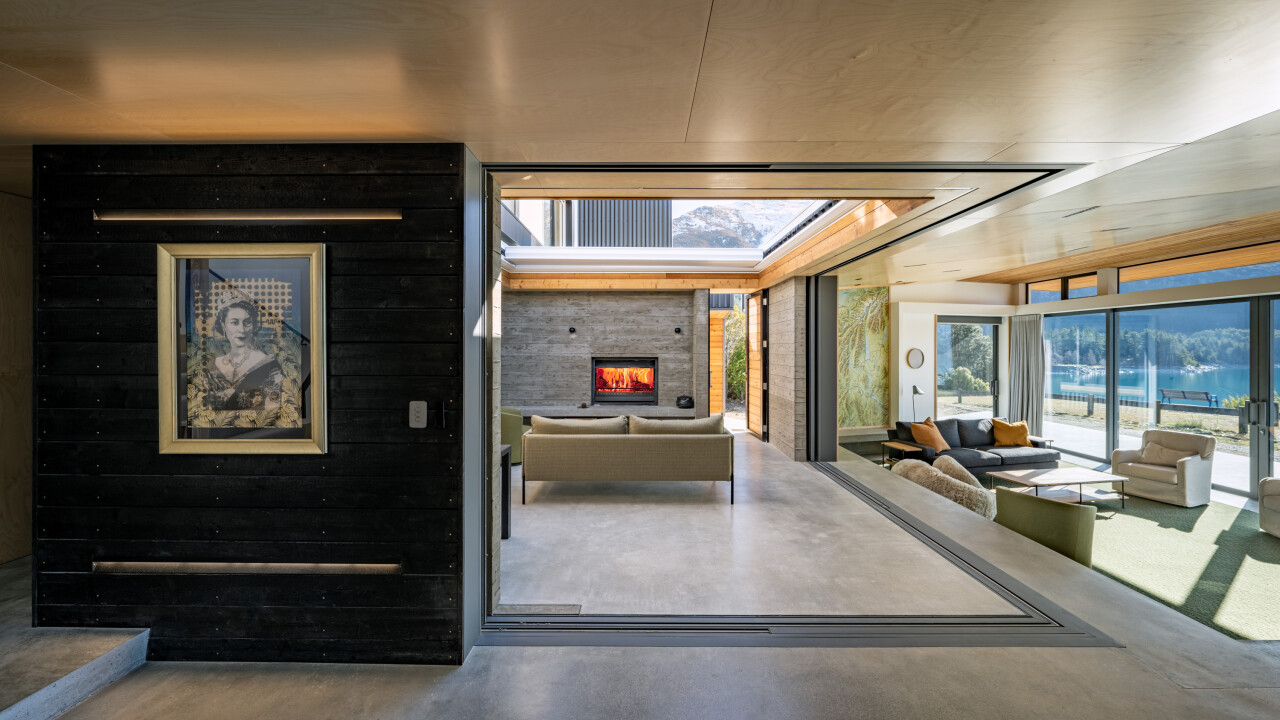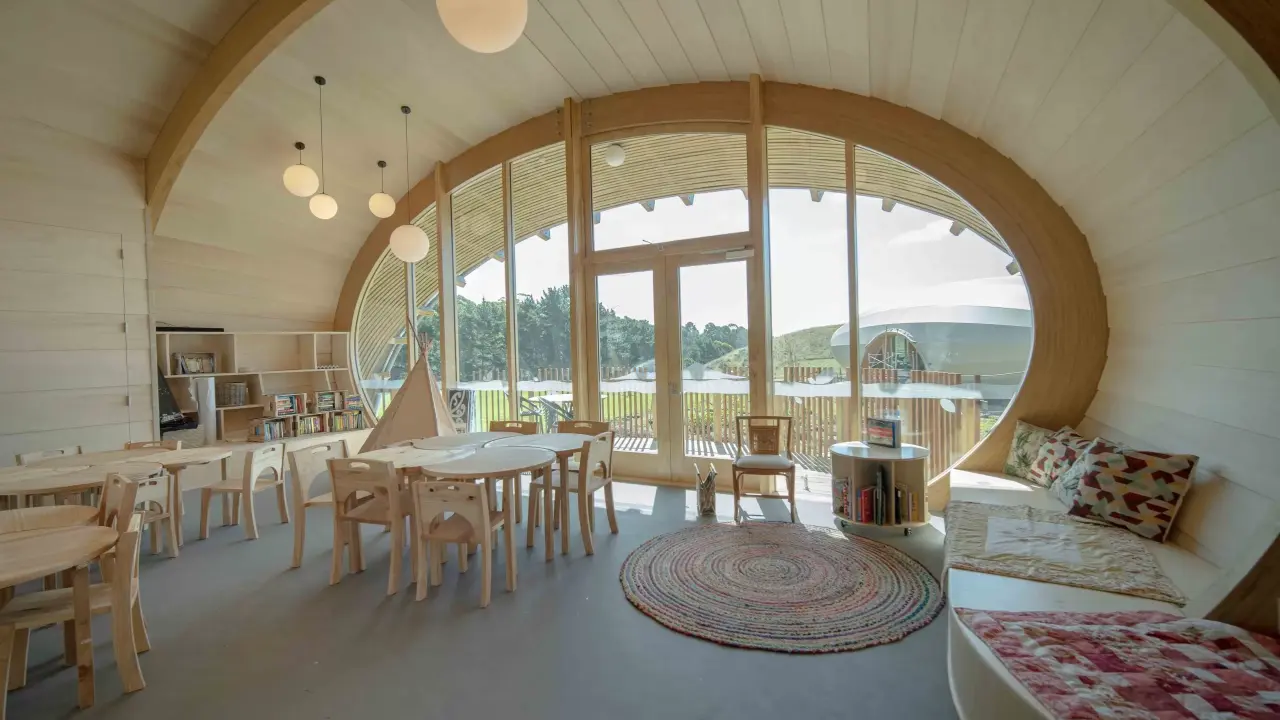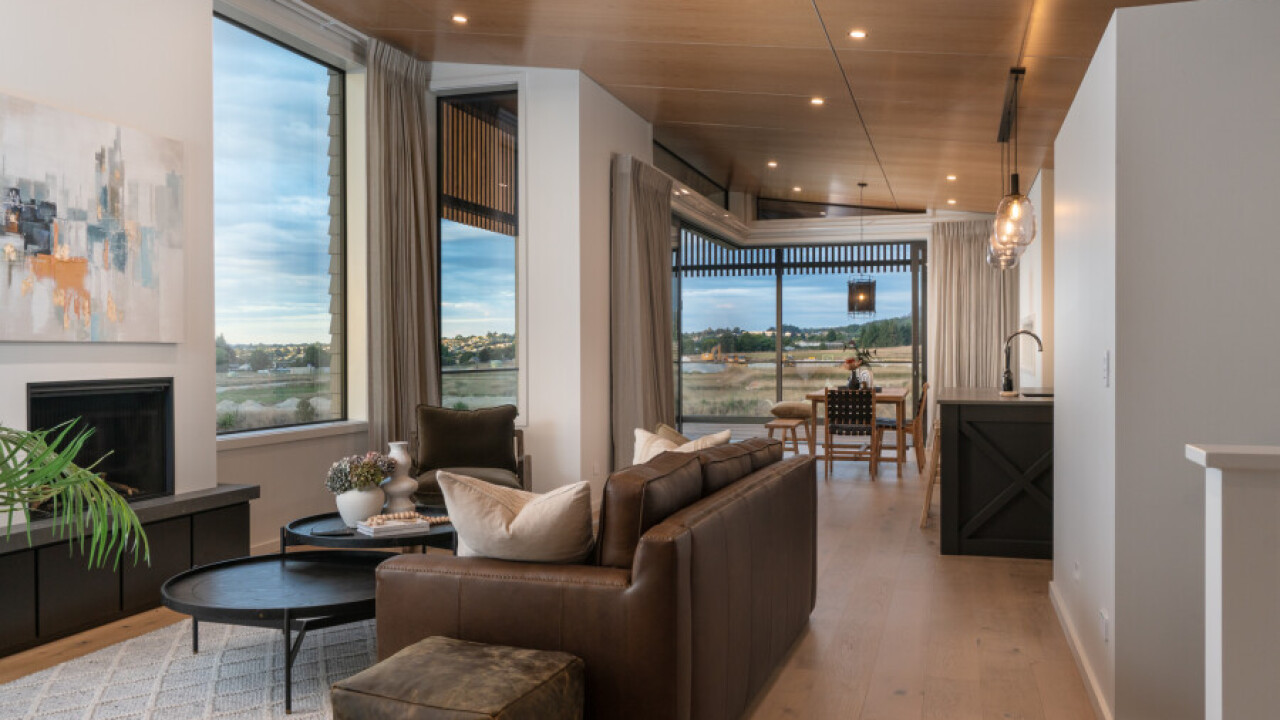
Whether you’re lining a residential living space or creating a feature wall in a commercial fitout, plywood brings warmth and visual character, but only if installed well. Here’s your guide to getting the job done right.
Choose the right plywood
Most visual-grade plywoods can be used for interior linings. For high-end aesthetics, Euro Birch or Poplar are common choices. If budget is a concern, 9mm or 12mm economy-grade Radiata ply is a practical option. Prefinished plywood options not only look great, they also eliminate the need for sanding or sealing on site, helping reduce labour costs and install time.
Understand your fixing options
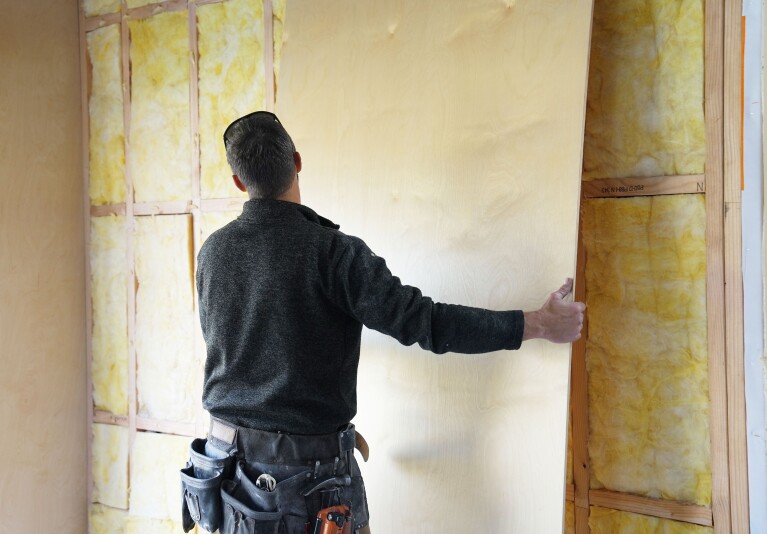
Plywood can be fixed using a combination of adhesives and mechanical fasteners. The right approach depends on the substrate, the type of plywood, and whether or not the fixings will be visible. Here are the most common methods:
1. Glue with pin nails or brad nails
This is the most common method for wall and ceiling linings. The glue provides long-term hold, while pins or nails give immediate grab and help keep sheets in place while the adhesive cures.
Best for: Interior linings where fixings may be filled or painted over
2. Adhesive-only systems
For a clean, fix-free finish, high-strength construction adhesives can be used without mechanical fixings, ideal when you want no visible fasteners. Our partners at Sudal offer a tested system for this, including technical documents showing best practice.
Sudal adhesive systems are ideal for clean, concealed fixings (for walls only). Useful Sudal guides:
1. Adhesive fixing for mechanical fixing of plywood panels
2. Adhesive fixing without mechanical fasteners - prefinished panels
3. Adhesive fixing without mechanical fasteners - uncoated panels
4. Adhesive fixing with mechanical fasteners - uncoated panels
3. Fastmount or clip systems
These allow for removable panels useful in commercial projects where access behind the wall is needed. However, they can be fiddly and costly, so are typically reserved for specific use cases.
Framing and spacing guidelines
Plywood linings need to be properly supported to prevent sagging or movement over time. That means fixing the sheets onto framing that’s spaced appropriately:
• Walls: 600mm stud centres are standard and provide sufficient support for most interior lining applications (400mm centres is an option which some tradesmen choose for 9mm linings).
• Ceilings: 400-450mm centres are recommended for better rigidity, as gravity and potential moisture movement can otherwise cause bowing or sheet deflection over time.
Installation tip: Trim before you fix
Sheets are factory-finished only on the face edge. Trim them to size before installing for clean, consistent results. Most plywood sheets are 2440x1220mm with only one factory-finished edge. Trimming to 2400x1200mm helps you avoid visible raw edges and ensures consistency across your layout.
Looking for a beautiful finish? Focus on visual layout
Before fixing, lay sheets out to visually match grain and colour. Especially for feature applications, thoughtful layout makes a major difference.
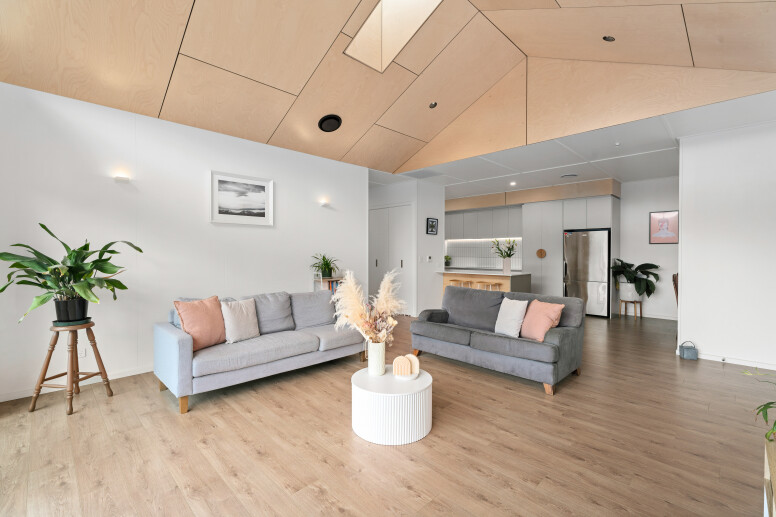
Consider negative detailing, leaving a fine black-painted gap between sheets for a crisp architectural finish that adds depth and rhythm to ceilings and walls.
Conclusion: Get the basics right, and the results will shine
Installing plywood linings isn’t complex but attention to layout, fixing method, and finish quality makes all the difference. Whether you’re aiming for a seamless look or an intentional grid layout with negative detail, starting with a plan will always pay off.
For more technical details, refer to our Fixing Guide or speak to the team about your project specs.